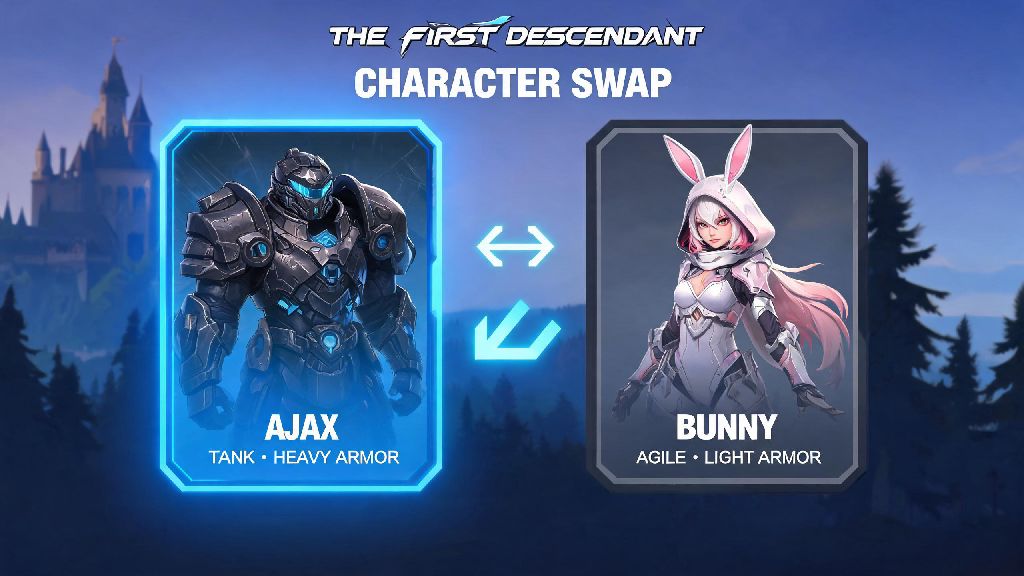
If you’ve spent any amount of time playing The First Descendant, you’ve probably already realized that picking the right character for the job makes every mission 10x easier. Maybe you started with Ajax, fell in love with his tanky build, then unlocked Bunny and want to test her lightning-fast movement for speed runs. The good news is you don’t have to stick to your first pick forever, and learning how to switch descendants in the first descendant takes less than a minute once you know where to look. I’ve spent over 120 hours grinding missions and testing every character in the roster, so I’ve put together all the steps, pitfalls to avoid, and pro tips to make swapping work for your playstyle.
Step-by-Step: How to Switch Descendants in The First Descendant
First, you need to be in your home base of Albion to make the swap — you can’t switch characters mid-mission, even if you’re at a respawn point. That’s a common mistake new players make, so make sure you sort your character pick before you queue for any co-op or story missions. Here’s exactly what to do once you’re in the base:
Wait, there’s a faster way too if you don’t want to walk all the way to the terminal. Open your main menu, navigate to the Descendant tab, select the character you want, and hit “Activate” to swap instantly. I only use the terminal if I’m already planning to tweak skill points right after swapping, since the terminal has a direct link to the skill upgrade menu. Just remember this menu swap only works in Albion, too — it’s locked when you’re in a mission instance.
When You Should Switch Descendants For Better Mission Performance
You don’t have to swap descendants every single time you start a new mission, but making intentional swaps based on the mission type will make your grind way smoother. For example, if you’re doing a boss fight against a fire-based world boss, swap to a frost descendant like Viessa to apply chill effects that slow the boss’s attack speed and reduce their damage output. If you’re doing a defense mission where you have to protect a core from waves of enemies, pick a tank like Ajax to absorb damage for your team and hold choke points easily.
I used to stick to Bunny for every mission when I first unlocked her, because her speed made grinding open world zones a breeze. But I quickly learned she’s terrible for high-difficulty defense missions, where her low health means she gets one-shot by most elite enemies. Now I swap to Ajax every time I queue for a tier 4 defense run, and my team’s win rate jumped by almost 40% just from that one change. Always check the mission’s enemy type and objective before you pick your character — a 30 second swap can save you 20 minutes of replaying a failed mission.
Co-op teams also benefit a lot from intentional swapping. If you notice your team already has two damage dealers, swap to a support descendant like Gley to give the whole team healing and damage buffs. You don’t have to main a support forever, but being willing to swap for team composition makes you a way more popular co-op partner, and you’ll clear hard content way faster.
Common Mistakes to Avoid When Swapping Descendants
Swapping descendants is simple, but there are a few small mistakes that can make your new character feel terrible to play, even if you picked the right one for the mission. The biggest mistake I see new players make is forgetting to move their upgraded modules over to the new character. Modules are not shared across descendants by default, so if you have a level 10 critical damage module on Ajax, it won’t automatically equip to Viessa when you swap. Take 2 minutes to open the module menu after you swap to make sure all your best upgrades are moved over, otherwise you’ll do half the damage you expect.
Another mistake is jumping straight into a tier 4 co-op mission with a descendant you’ve never played before. Every descendant has a unique skill rotation, and it takes a few runs to get used to how their abilities work. I learned this the hard way when I swapped to Lepic right before a hard boss fight, and I kept accidentally using his self-heal skill when I meant to throw his explosive grenade. I ended up dying three times and my team almost lost the run. Now I always test a new descendant in a tier 1 open world patrol first to get the hang of their controls before I bring them to hard content.
It’s also easy to waste resources upgrading too many descendants at once when you first unlock swapping. Focus on upgrading 2-3 descendants first that cover different playstyles (tank, damage, support) before you spread resources across the whole roster. You can swap whenever you want, but a level 10 descendant with maxed modules will always perform better than a level 3 descendant even if they’re technically better for the mission type.
How to Unlock More Descendants to Swap To
You start the game with three unlocked descendants, but the full roster has over 15 unique characters to pick from, so swapping gets way more fun once you unlock more options. Most of the non-starter descendants are unlocked via crafting, which you can do at the Descendant Terminal once you hit account level 10.
To craft a new descendant, you need to collect three types of materials: descendant-specific blueprints that drop from boss fights, rare crafting materials from open world zones, and synthesis cores from weekly missions. Blueprints are not guaranteed drops, so you may have to run a boss fight 2-3 times to get the one you want. I recommend prioritizing unlocking one character per playstyle first, so you always have a good option to swap to no matter what mission you’re running.
Some limited-time event descendants are only available for a few weeks at a time, so if you see one you want, make sure to grind the event materials before it ends. You don’t have to level them right away, but unlocking them means you can swap to them whenever you want later down the line. I missed out on a limited support character last year, and I’m still waiting for it to come back, so trust me on this one.
At the end of the day, swapping characters is one of the best parts of The First Descendant, since it lets you mix up your playstyle whenever you get bored or hit a wall with a hard mission. Now that you know how to switch descendants in the first descendant, you can stop forcing yourself to play a character that doesn’t fit the mission, and start building a roster that works for every type of content you want to tackle. Don’t be afraid to experiment with different characters, even if they feel weird at first — you might find a new main you never expected to love.