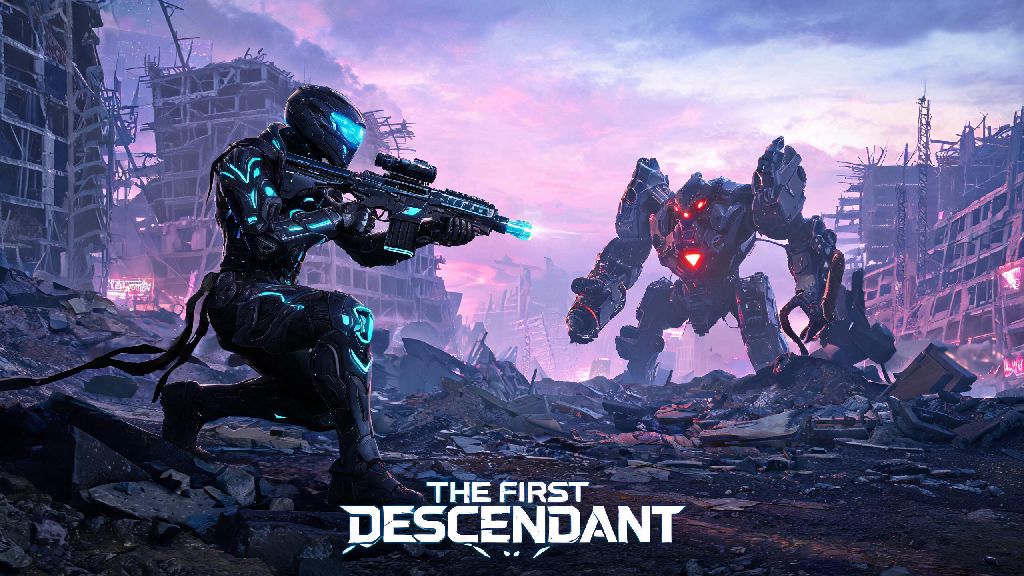
If you’re tired of waiting for squadmates to log on or just prefer tackling looter shooter content at your own pace, figuring out how to play solo in The First Descendant can open up a ton of content you might have thought was locked to group play. I’ve spent nearly 120 hours running everything from story missions to endgame void battles alone, and I’ve picked up more than a few hacks to make the experience far less frustrating, even if you’re still working your way through your first set of legendary gear. You don’t need perfect rolls or a maxed out meta character to succeed solo, but you do need to build your loadout and approach missions a little differently than you would with a team backing you up.
Core Principles for How to Play Solo in The First Descendant
Solo play shifts the priority of every stat and ability on your build, because you don’t have other players covering gaps in your kit. Where groups can split roles between damage, support, and crowd control, you have to fill all three at once to survive tough encounters. Even small adjustments to your playstyle can make the difference between a smooth clear and a frustrating failed run, especially for higher difficulty content.
That means the meta group builds you see floating around online won’t always work for solo play, even if they top the damage charts in squad runs. I’ve tested multiple top tier group builds on void battles alone, and most of them folded within the first two minutes because they lacked any form of self-sustain or crowd control. You’re far better off building a well-rounded kit than chasing max damage numbers when playing alone.
Best Character Picks for New Solo Players
You don’t have to unlock every character to find a good solo pick, as some of the starting options are far better for solo play than rarer endgame descendants. Let’s break down the most accessible choices that require minimal grinding to get working.
Viessa is the best starting pick for new solo players by a wide margin. Her ice abilities slow all enemies in a wide radius, which cuts down on incoming damage drastically, and her passive gives her extra shield regen every time she hits a frozen enemy. I used Viessa for my first 40 hours of solo play, and I was able to clear story missions and intermediate void battles without any legendary gear at all. The only real downside is her single-target damage is a bit lower than other options, so boss fights will take a little longer when you’re first starting out.
If you’ve unlocked a few more descendants, Bunny is another top tier solo option. Her high movement speed lets you avoid big attacks easily, and her chain lightning abilities clear entire waves of mobs in seconds. The only downside is she has lower base health than Viessa, so you’ll need to invest a few points into health regen mods to make her work for harder content. She’s perfect for players who prefer fast, aggressive playstyles instead of slower, more defensive runs.
Ajax is a solid choice if you prefer a tankier playstyle, but his lack of crowd control can make swarms of small mobs a lot more frustrating to deal with early on. I’d only recommend him if you really don’t enjoy playing ranged or caster-style characters, and you’re willing to grind for extra crowd control mods to cover his weaknesses.
Mission Tips to Avoid Wasting Time on Failed Runs
Even with a great build, you can fail solo runs if you approach missions the same way you would with a squad. Groups can split up to complete objectives fast, but you have to prioritize the order of tasks to avoid getting overwhelmed by spawning mobs. These small adjustments will make a world of difference when you’re learning how to play solo in The First Descendant, even if you’ve struggled with failed runs in the past.
For defense missions, always place your portable cover or turrets (if your character has them) near the objective before you start engaging enemies. It’s much easier to defend a single point than to run back and forth to repair the objective while enemies are attacking you. I used to rush straight for attacking mobs at the start of defense missions, and I failed at least 7 runs in a row before I started prioritizing objective prep first.
For boss fights, always study the attack pattern for the first minute instead of dumping all your damage immediately. Most bosses have one or two one-shot attacks that are easy to avoid once you know their tell, but if you’re focused entirely on dealing damage you’ll miss the cues and get taken out instantly. You can also use environmental objects like explosive barrels and cover points to deal extra damage without exposing yourself to attacks.
If you’re running a loot farming mission, don’t feel like you have to kill every single mob on the map. Most side mobs don’t drop high tier loot, and you’ll save a ton of time by rushing straight for the target boss or chest and then extracting once you’ve collected your reward. That’s especially true for endgame void intercept missions, where the number of spawning mobs increases the longer you stay in the area.
Mod and Gear Loadout Adjustments for Solo Play
The biggest mistake new solo players make is copying group loadouts that prioritize team buffs over personal stats. Mods that give damage boosts to nearby teammates are completely useless when you’re playing alone, so you can swap those out for mods that boost your own survivability or damage output. You don’t need to fully rework your existing group loadout, just swap out 2-3 mods to cover your gaps.
For weapon mods, always have at least one weapon with a life steal or shield steal mod equipped. Even a 3% life steal mod will keep you alive through most mob encounters, as long as you’re landing consistent hits. I prefer to put this mod on my primary auto rifle, since I use it for most general mob clearing, but you can put it on a close-range shotgun if you prefer up-close play.
For character ability mods, prioritize cooldown reduction over ability strength early on. Being able to use your crowd control or healing ability every 5 seconds instead of every 10 seconds will make a far bigger difference in survival than a 15% boost to ability damage. You can start adding more ability strength mods once you have enough cooldown reduction to use your abilities consistently, and you’re comfortable surviving regular encounters.
Don’t sleep on utility mods like ammo regen or reload speed either. When you’re playing alone, you don’t have a teammate to cover you while you reload, so faster reload speeds can save you from getting swarmed during long fights. Ammo regen mods are especially useful for heavy weapons like rocket launchers, which usually have very low ammo stockpiles that run out fast during boss fights.
At the end of the day, figuring out how to play solo in The First Descendant is all about playing to your strengths, not following meta builds that were designed for group play. You can make almost any character work for solo content if you adjust your loadout to cover gaps in their kit, and you don’t need to spend hundreds of hours grinding for perfect gear to clear even endgame content. Take the time to test different builds and playstyles, and you’ll be able to enjoy every part of the game on your own schedule, no squad required.