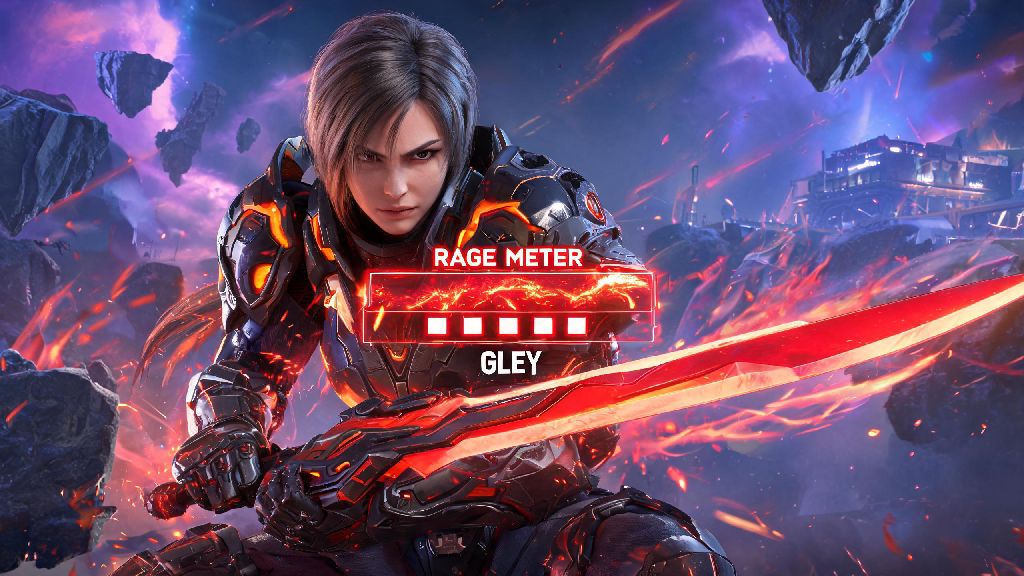
If you’ve been scrolling through The First Descendant character tier lists looking for a high-damage, high-octane fighter that turns enemy aggression into power, you’ve probably landed on Gley. Learning how to play Gley in The First Descendant can feel overwhelming at first, especially if you’re used to more straightforward damage dealers that don’t rely on resource management. Her unique rage mechanic lets her dish out absurd amounts of damage when played right, but mess up her rotation and you’ll be left sitting on the sidelines waiting for cooldowns while your team carries the fight. I’ve spent over 40 hours running Void Intercept Battles and world bosses exclusively with Gley, and I’ve broken down everything you need to know to turn her into your go-to pick for every mission type.
Core Mechanics You Need to Know to Play Gley in The First Descendant
Gley’s entire kit revolves around her Rage meter, a unique resource that replaces the standard mana or energy bar most other descendants use. You’ll build 1 Rage stack per basic attack kill, 3 stacks per skill kill, and 5 stacks every time you take 10% or more of your max health in damage in a single hit. That means you don’t have to play overly cautiously with her – in fact, leaning into aggressive positioning will help you build Rage far faster than hanging back with your team. Once you hit 100 Rage stacks, you unlock her Berserk state, which boosts all damage output by 70%, reduces incoming damage by 40%, and removes all cooldowns on her skills for 12 seconds. A lot of new Gley players waste Berserk state as soon as it unlocks, but you’re better off saving it for big wave spawns or boss phase transitions where you can get the most value out of the cooldown reset. You can also cancel Berserk early to gain a 3-second damage immunity buff, which is perfect for avoiding one-shot boss mechanics that would otherwise wipe your team.
Optimal Gley Loadout for Solo and Co-op Play
Your loadout will make or break how effective Gley feels, especially when you’re running higher-difficulty missions where enemy health pools are massively inflated. Even if you’re completely new to how to play Gley in The First Descendant, this loadout will make her feel far more intuitive to use for your first few runs. I’ve tested dozens of loadout combinations across both solo open world farming and 4-player Void raids, and this setup works for almost every scenario:
Common Gley Playstyle Mistakes to Avoid
Even if you have the perfect loadout, bad play habits will stop you from getting the most out of Gley’s kit. The first mistake I see almost every new Gley player make is using their skills off cooldown when they’re not in Berserk state. Gley’s skills have long base cooldowns (18 seconds for her dash attack, 25 seconds for her AoE slam) so you want to save them for when you’re in Berserk, where they have no cooldowns and deal double damage. Wasting them early means you’ll have no way to build Rage fast when you need it most. If you’re still getting used to her kit, start by only using your basic attack until you hit Berserk state, then spam all your skills as much as possible. Another common mistake is running away when your health gets low. Remember, Gley gains 1% extra damage for every 2% of health you’re missing, so sitting at 40% health gives you a 30% damage buff on top of all your other bonuses. As long as you have Rage Leech equipped, you’ll heal back most of the damage you take as long as you keep killing enemies. That said, don’t be reckless – if you’re at 10% health and there’s no small enemies around to kill for heals, fall back for a few seconds until your health regen kicks in. The last mistake to watch out for is hoarding Berserk state for too long. It can be tempting to save it for a boss that’s 5 minutes away, but you’ll get far more total damage output using it every time it’s off cooldown for regular wave clears, as long as you build your Rage back fast enough before the boss fight starts.
Gley Team Composition Synergies for Co-op Missions
Gley works fine as a solo pick, but she really shines when you pair her with other descendants that complement her strengths and cover her weaknesses. The best support for Gley by far is Sharen, whose shield buffs let you take way more damage without dying, so you can build Rage even faster and stay in that low-health high-damage sweet spot for longer. Sharen can also revive you from downed state from 20 meters away, which is perfect when you’re deep in a group of enemies and your team can’t get to you easily. Another great synergy is with Viessa, whose freeze abilities group enemies up tightly so you can hit 10+ targets with a single AoE slam skill to build Rage in seconds. If you’re running a full damage team, pair Gley with two other high-damage descendants and one support, and you’ll be able to clear even the highest difficulty Void Intercept Battle in under 10 minutes. Just make sure you’re not running two Gleys on the same team – her team damage buff doesn’t stack, so you’re better off picking different damage dealers that bring unique bonuses to the group.
At the end of the day, Gley is one of the most fun, high-reward characters in The First Descendant for players who love aggressive, fast-paced playstyles. Once you get the hang of her Rage meter and learn to stop playing too cautiously, you’ll be topping damage leaderboards in every mission you join. Whether you’re farming open world materials for upgrades or tackling the hardest endgame raids with friends, taking the time to learn how to play Gley in The First Descendant is well worth the effort. Don’t get discouraged if you mess up your rotations the first few runs – even the best Gley players started out wasting Berserk state at the wrong time and dying to silly mistakes. Keep practicing, tweak your loadout to fit your playstyle, and you’ll be unstoppable in no time.